All you need to know about RAFIX 22 QR buttons


1. Introduction

All RAFIX series feature a modular design. They consist of a button and a contact. The advantage of this solution is the ability to freely combine contacts and buttons as needed. This allows for almost limitless combinations for production and final assembly. You can create a new configuration from existing components. If this is not sufficient – it is also possible to create a custom solution.


The classic RAFIX 22 QR buttons and switches are widely used in machine construction and automotive production. The buttons are resistant to environmental influences while providing easy operation, even with gloves. The variety of colors for the front rings also allows for a customized appearance. The switching elements of the RAFIX 22 QR series have the highest rated power among all RAFI control elements – up to 400 volts or 10 amps. You benefit from quick installation and easy rear wiring, enabling a space-saving arrangement of control elements.

  • Durable – suitable for operation with gloves
  • Optimal for switching higher currents (max. 400 V/10 A)
  • Buttons can be placed close together due to rear axial wiring
  • Appearance customization with various front ring options
  • Protection class: IP65 from the front
  • Switching elements with silver contacts (max. 400 V/10 A) or gold contacts (max. 35 V/100 mA)
  • Terminal types: screw terminal, quick connector, spring terminal


RAFIX 22 QR

RAFIX 22 QR Red round button, silver bezel, maintained

More Information

RAFIX 22 QR

RAFIX 22 QR Green round button, silver bezel, maintained

More Information

RAFIX 22 QR

1.74505.501/1500 Switch

More Information


2. Components of RAFIX 22 QR

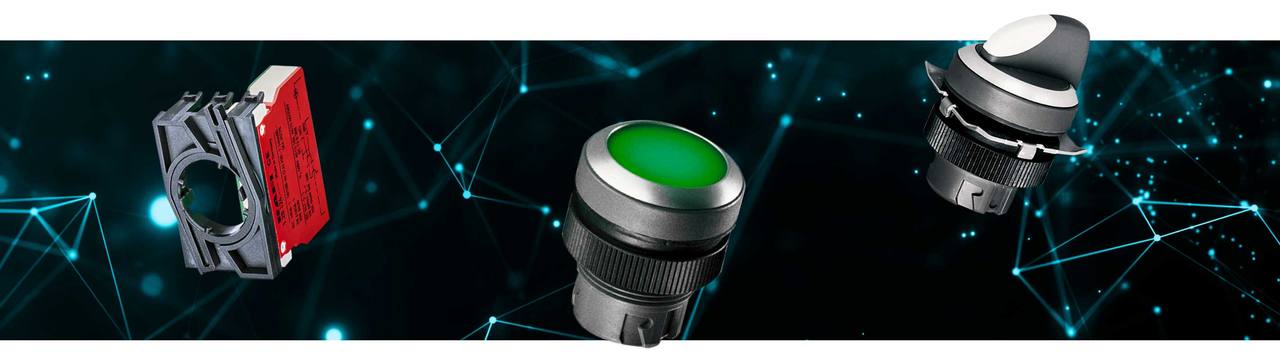
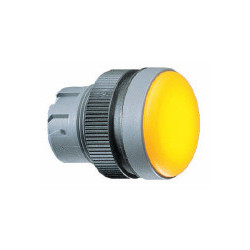
The lighting for buttons and indicator lights can be replaced from the front. This method saves time and increases safety by eliminating the need for access to the interior of the machine/control station and handling live wires to replace the lamp. After removing the front ring, the lens can be removed and the lamp replaced.

The components feature a special removal tool. Precise positioning of the switch can be achieved by adjusting it from the inside of the panel. The molded flange seal cannot be lost or twisted during installation and allows for single-person installation: the component is held in the mounting hole by the seal while tightening the nut from the back.


1.74505.501/1500 Switch

1.74505.501/1500

More Information

1.74505.501/1400 Switch

1.74505.501/1400

More Information

1.74505.501/1000 Switch

1.74505.501/1000

More Information


3. Contacts

Contacts are marked with different colors to facilitate distinguishing configurations during installation.

  • NC Contact – red cover
  • NO Contact – green cover
  • NC/NO Contact – one side green, one side red
  • LED Contact – black housing and cover
  • Silver contacts – black housing
  • Gold contacts – gray housing
  • Terminals associated with a pair of contacts are color-coded on the connection side and marked with the corresponding contact numbers:
    • 1,2 = NC
    • 3,4 = NO


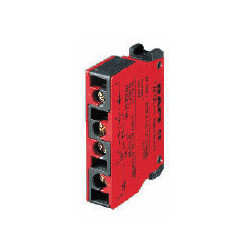
RAFIX 22 QR Contact Block, 1NC, Screw Terminal, Silver Contact

Manufacturer Part Number: 5.00.100.139/0000

More Information

RAFIX 22 QR Contact Block, 1NO, Screw Terminal, Silver Contact

Manufacturer Part Number: 5.00.100.140/0000

More Information

RAFIX 22 QR Contact Block, 2NO, Screw Terminal, Silver Contact

Manufacturer Part Number: 5.00.100.142/0000
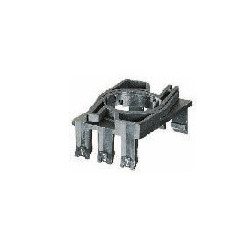
More Information

3.1 Assembly

First, snap the lamp holder and contact blocks into the adapter. Then, snap the assembly onto the actuator. To release it, press the bayonet (this also prevents accidental release).

3.2 Contact Assembly

  • Mount the actuator in the front panel using the ring nut.
  • Snap the individual contacts (up to two contacts along with the lamp holder) into the adapter. They can be installed in any slot.
  • Insert the lamp or LED into the lamp holder or snap in the LED module.
  • Snap the adapter with the contact blocks onto the button.
  • Connect the cables.
  • Disassembly is done in the reverse order. To remove the adapter from the button, press the latch lever (manually or with a screwdriver).


RAFIX 22 QR Mounting Adapter

Manufacturer Part Number: 5.05.510.935/0000

More Information

3.3 Cable Assembly

The RAFIX 22 QR contact blocks are available in various connection versions, depending on your needs:

  • Screw terminals
  • Terminals are open, and the mounting screws are installed in the terminal cavity.
  • Quick-connect/lug terminals 6.3 x 0.8 mm
  • Spring terminals
  • To open the terminal, simply insert a screwdriver, insert the wire, and remove the screwdriver to close the terminal.

Advantages:

With this, you can save in three ways:

  • Significantly reduced assembly time by introducing wire from the rear, i.e., no need to bend and insert wires from the side.
  • Material savings: no need for wire end sleeves.
  • Time savings previously needed for mounting cable sleeves.

Need assistance configuring the right solution for you? Contact us. Our technical and sales team will help you select the appropriate solution for your case.


Leave a comment

Security code